


Adding a Site in Your Managed WordPress Portal
Adding a site in Managed WordPress portal is an easy process that just takes a few steps. Whether you’re adding a site to get ready to migrate your site over to your dashboard or creating a site from scratch, the steps in this tutorial will walk you through how to add a new site to your dashboard.
- Log into your Managed WordPress portal.
- Click Create/Import New Site at the upper right-hand corner of the page.
 Note:Managed WordPress plans have a maximum limit of sites allowed. You can see how many sites are left at the top of your portal home page. If you need to increase the number of sites, contact our Heroic Support team and they will be happy to help you.
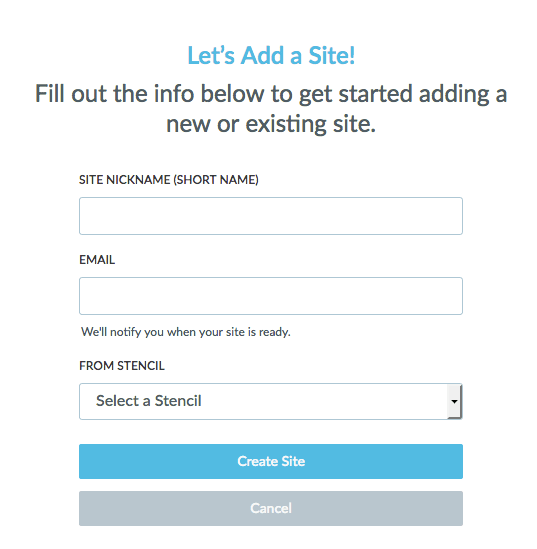
 - Enter the site nickname and your email address.
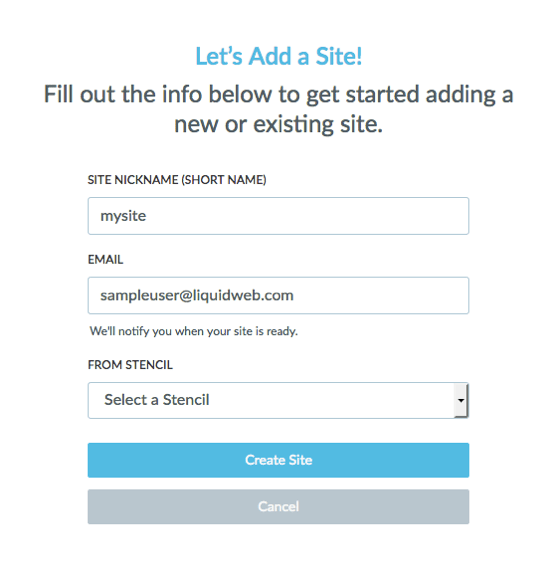 Note:The site nickname (short name) is a nickname to help you organize your sites from the home page of your Managed WordPress portal.
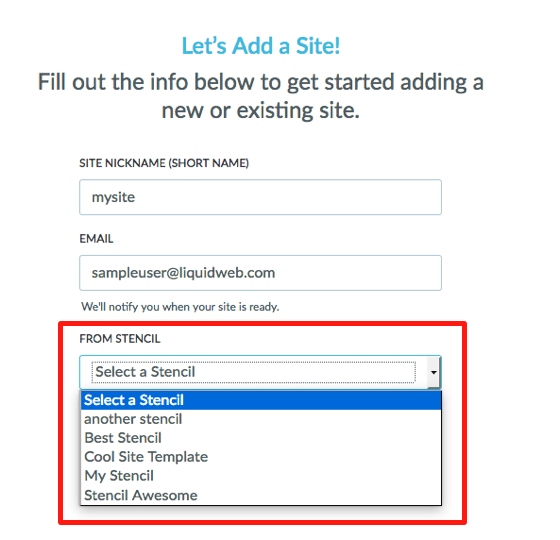
 - If you are creating this site from a stencil you made of another site, use the drop-down menu to choose the stencil you want to build from.
- Click on Create Site to start the creation process.
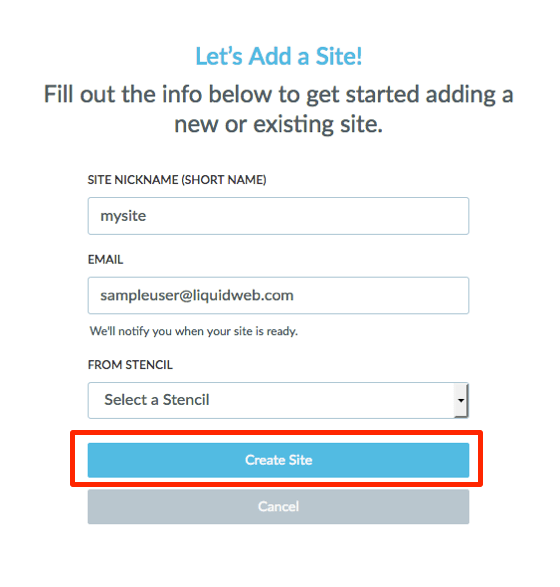
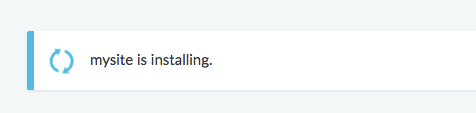
- Your site will begin creating.
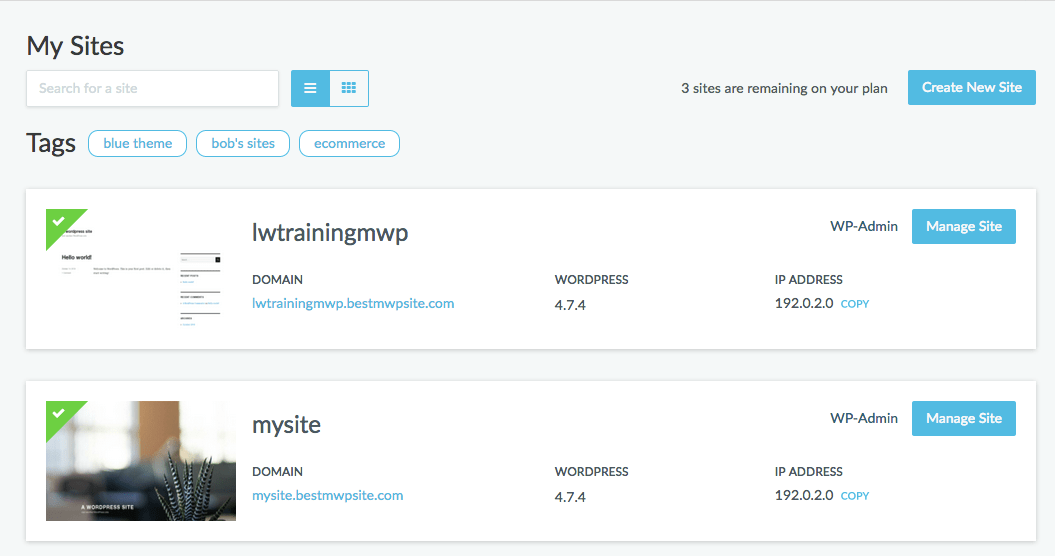
- When it is complete, you will see the new site added to the list on your home page.
Related Articles:


About the Author: Libby White
Former technical writer for Liquid Web. When Libby is not writing for work, she spends time learning more about digital & technical writing, web development, hanging with her family, and taking photographs with her Nikon. Always learning, always growing, never stopping.


Our Sales and Support teams are available 24 hours by phone or e-mail to assist.
Latest Articles
How to Clone a Drupal Site to Another Domain
Read ArticleTop Eight Virtualization Security Issues and Risks
Read ArticleAccessing Man Pages on Ubuntu 16.04 LTS
Read ArticlePremium Business Email Pricing FAQ
Read ArticleMicrosoft Exchange Server Security Update
Read Article