


Creating a Staging Site in Managed WordPress Portal
Liquid Web’s Managed WordPress Portal allows developers to create a staging site to test design, plugin and configuration changes without affecting the performance and look of your the live site.
Once your staging site is created, you have the same functionality as you do with your live site to make changes, use SFTP/SSH for file management and run updates to view changes before making them to your live site.
- Log into your Managed WordPress Portal.
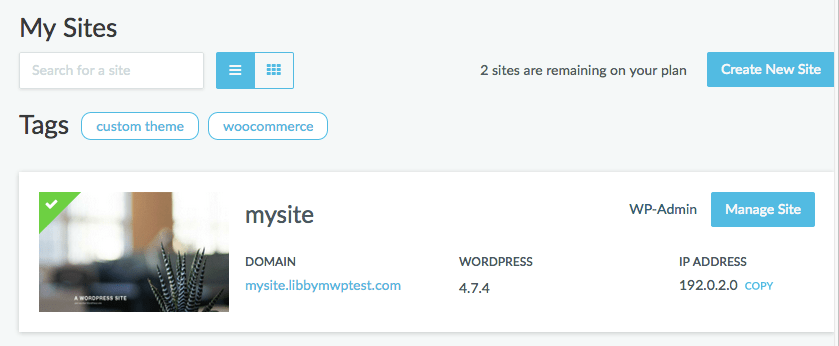
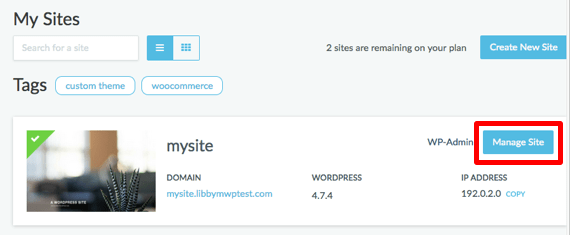
- Click the Manage Site button to open the site to copy to a staging environment.
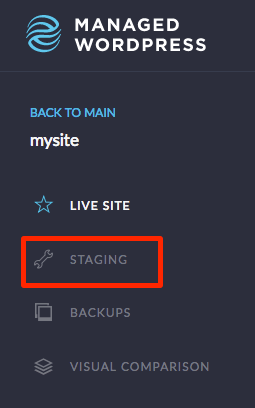
- Select Staging from the menu on the left-hand side of the page.
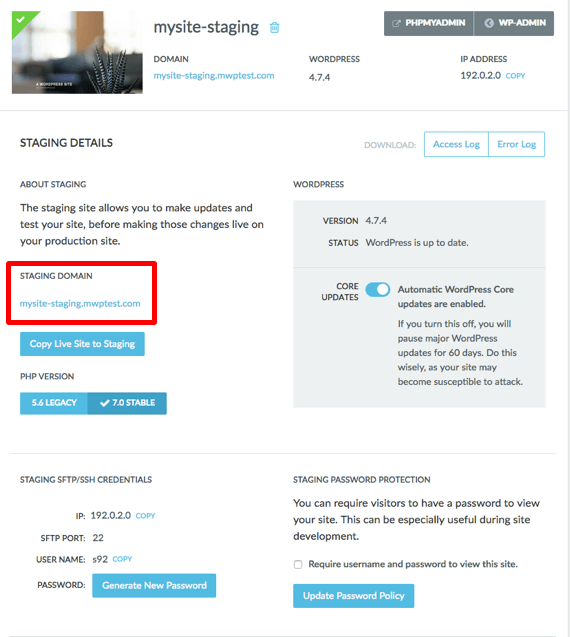
- In the staging home page, click Copy Live Site to Staging and the process will begin.
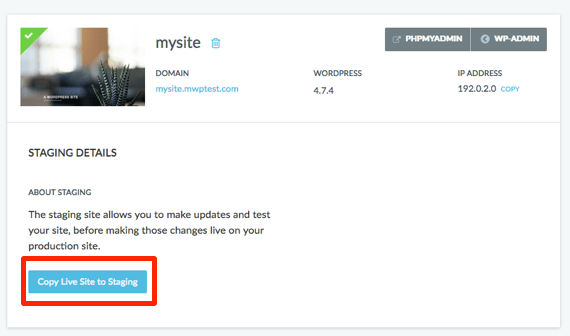
- Once the site copy is complete, click the Staging Domain link to open your staging site.
Your staging site is now ready for you to work on and test!
Related Articles:


About the Author: Libby White
Former technical writer for Liquid Web. When Libby is not writing for work, she spends time learning more about digital & technical writing, web development, hanging with her family, and taking photographs with her Nikon. Always learning, always growing, never stopping.


Our Sales and Support teams are available 24 hours by phone or e-mail to assist.
Latest Articles
How to Clone a Drupal Site to Another Domain
Read ArticleTop Eight Virtualization Security Issues and Risks
Read ArticleAccessing Man Pages on Ubuntu 16.04 LTS
Read ArticlePremium Business Email Pricing FAQ
Read ArticleMicrosoft Exchange Server Security Update
Read Article