


Update: Migrating to Liquid Web with Managed WordPress Portal
Migrations to Liquid Web’s Managed WordPress and Managed WooCommerce portals are made easy using a custom plugin called Migrate To Liquid Web created specifically for Liquid Web by BlogVault. With this plugin, you can migrate any WordPress site into your portal in just a few easy steps.
Step #1: Create a Site
You will need to create a new site in your portal to act as a destination site for your migration to Liquid Web.
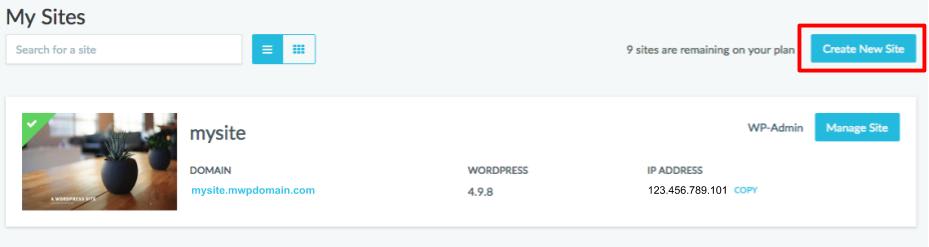
- Log into your portal and click Create New Site.
- Once that Create a Site page opens, enter the site nickname.
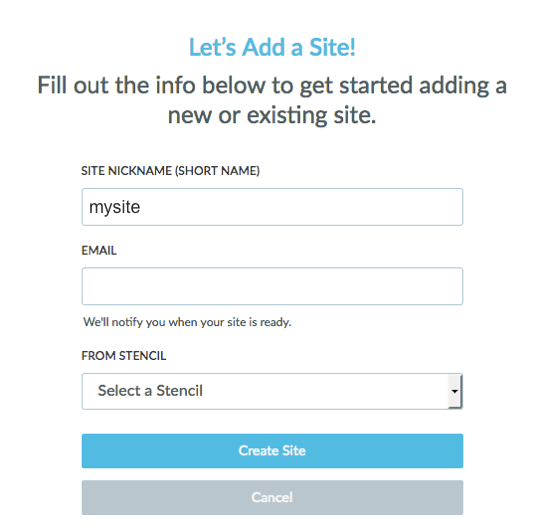 Note:The site nickname (short name) is only a nickname for easy organization of your sites within the Managed WordPress portal. It is not the domain you will be using for your public-facing site. It can be changed at any time.
 - Enter your email address. This is the email address you will use for all notifications for your site.
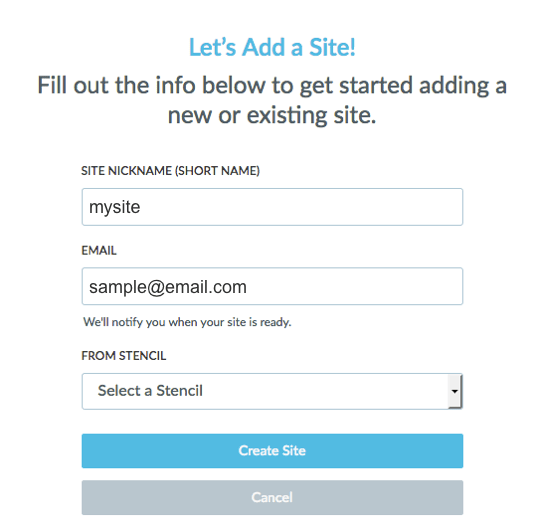
- Click Create Site to have the site begin to create. Once it is finished, it will show up in your site list on the main page of your portal.

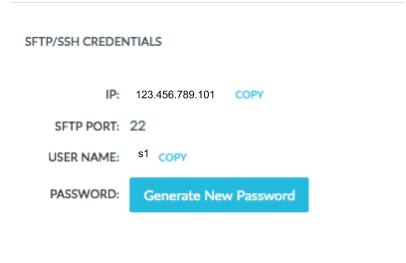
- The SFTP credentials will be needed later to copy/paste into the migration plugin. Click the Manage Site button for the site you created to access the information you will need.
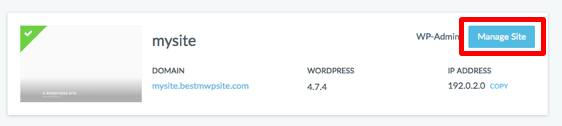
- With the SFTP credentials (IP, SFTP Port, Username, Password) notated we are now ready to go to the site, we would like migrated, also known and referred to as the source site.
Step #2: Source Site Preparation
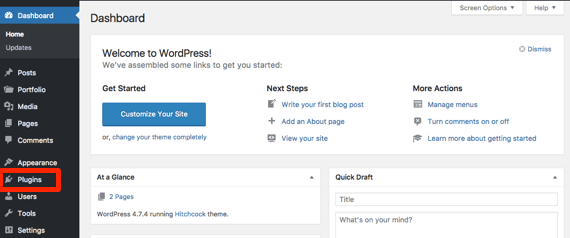
To prepare your source site, log into your WordPress admin page for the site you want to migrate.
- From the admin portal of the source site, click the Plugins link.
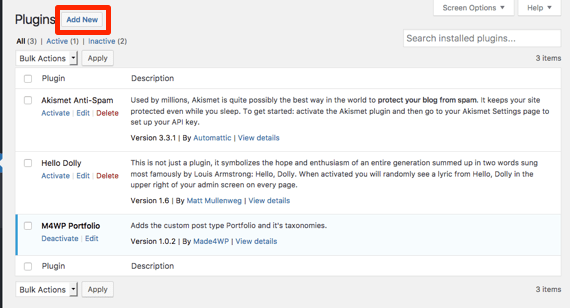
- Click Add New to be navigated to the WordPress plugins page.
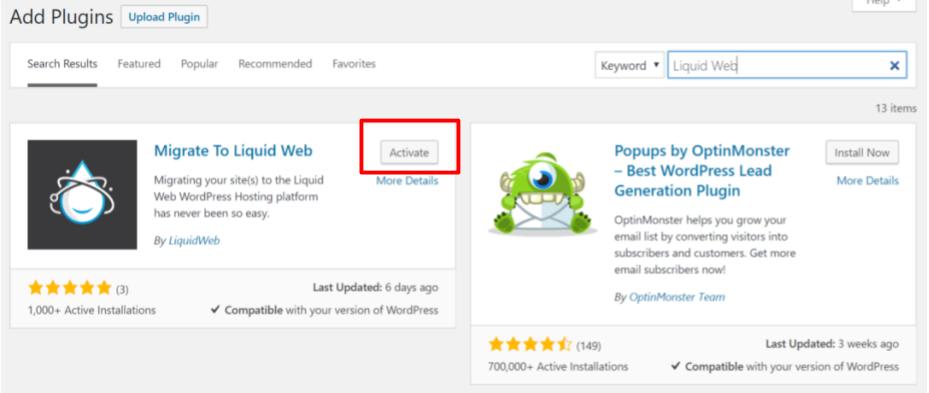
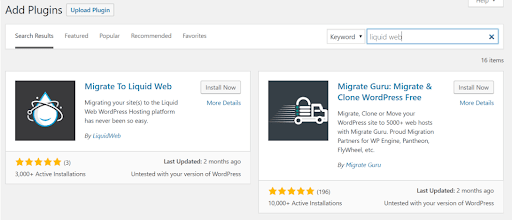
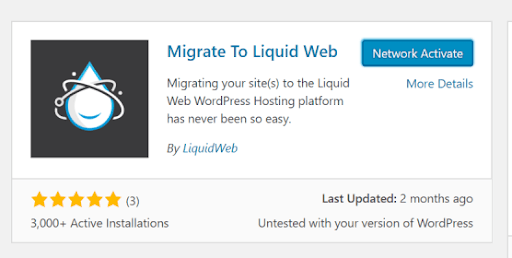
- Begin typing Liquid Web in the search bar. The migration plugin for Liquid Web should appear in the list of plugins, select Install Now.
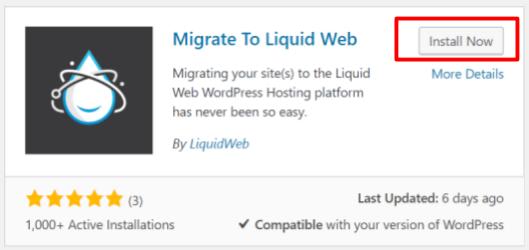
- After the plugin installs, click Activate. This will direct you to the BlogVault plugin page.
- Your source site is now ready for migration.
Step #3: Begin Migration
You are now ready to begin the migration process.
- When you activate the migration plugin, it will automatically direct you to the migrations page.
 Note:Once you activate the plugin, a link to the plugin will show up in the menu on the right-hand side of your WordPress admin portal. If you are not immediately directed to the page, use the link to get to the BlogVault migration plugin home.
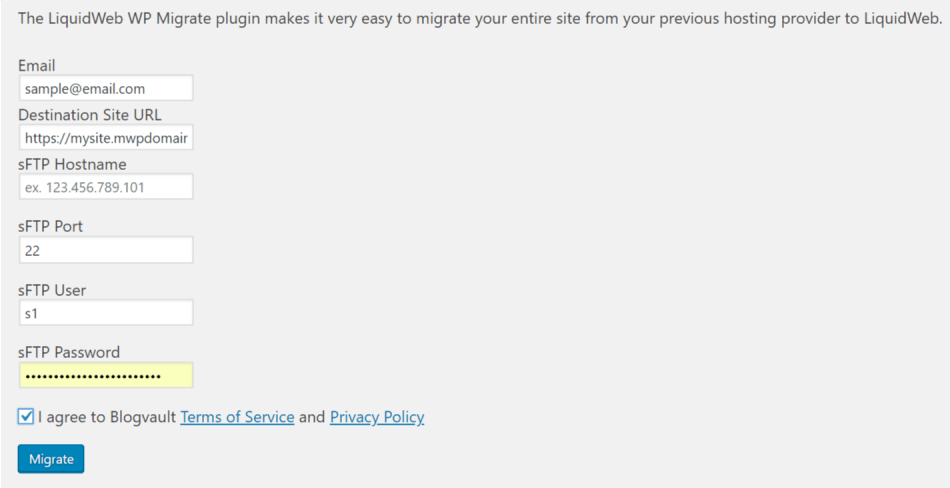
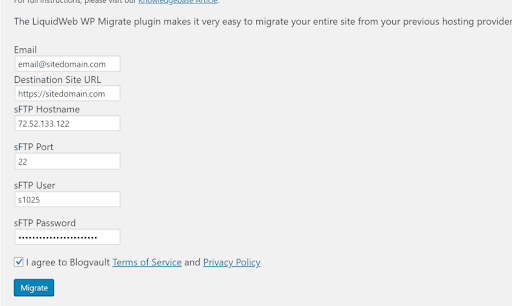
 - You will need to enter the following information from your Liquid Web Managed WordPress site management page into the plugin form to begin your migration:
- Email address, this is the email you will use to receive all site notifications.
- Site URL, make sure you use https:// with the domain name. This is the domain name that is found at the top of your site management homepage in your portal.
- SFTP Hostname which is the IP address in the SFTP information section of your site portal. Use the convenient Copy link to copy the information from your portal and paste it into the plugin.
- SFTP username and password also found in the SFTP information section of the site portal. To create a password, click the Generate Password link in your portal.
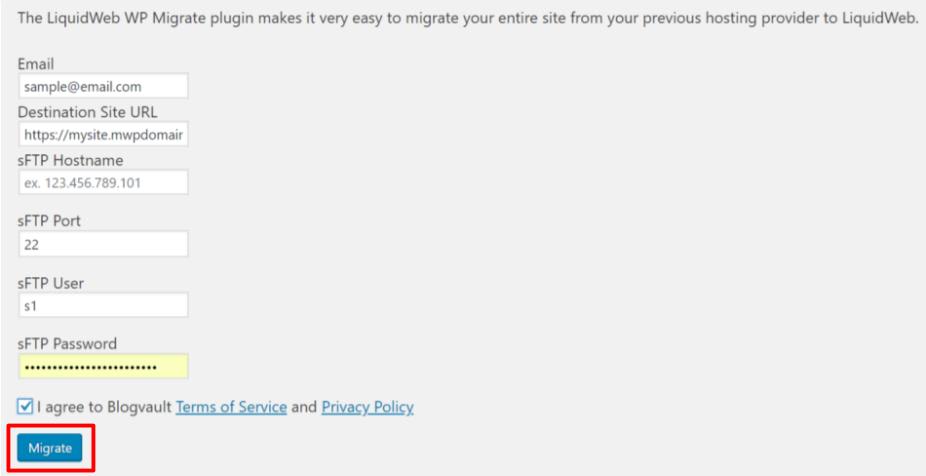
- Once you enter the required information, click the Migrate button to begin.
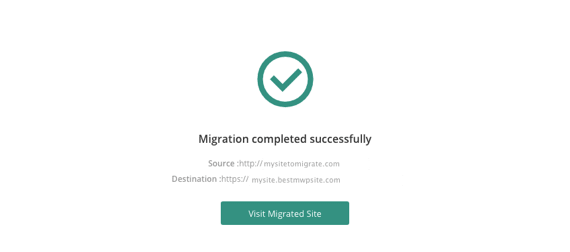
- You can watch the progress of your migration with BlogVault’s migration progress site. Here you can watch the progress of your migration.
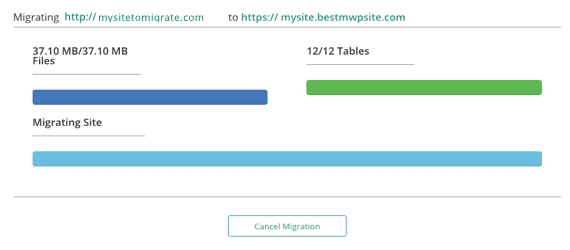 Note:Depending on the size of the files and tables in your site, your migration can take a few moments or a few hours. Please be patient during the migration process.
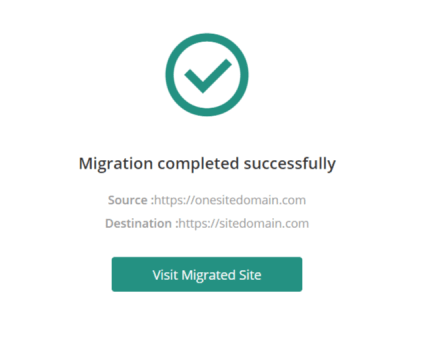
 - Once the migration is complete, a success message will show on the migration page and you will receive an email notifying you of the migration as well.
Step #4: Update Permalinks
Resave your URL permalinks in your destination site within your Managed WordPress portal by visiting the wp-admin section located after clicking on Manage Site button.
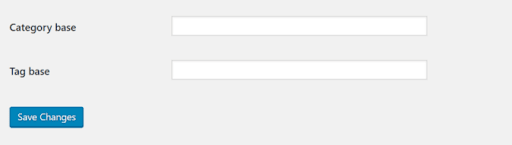
To resave the permalinks, select Settings and then Permalinks, scroll to the bottom of the page to select the blue Save Changes button.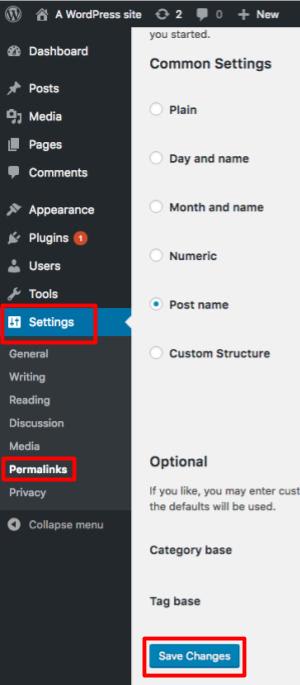
Step #5: Test Your Site
Your site is now successfully migrated! There is just one more step to complete before you make your site go live by changing the DNS. If you are hosted with Liquid Web, you will need to create a DNS Zone, see our article How to Add or Modify DNS Records in Manage for more information.
Before you go live with your site, it is important that you test your site and make sure everything works the same way as it did before the migration.
- Using the link at the top of the page in your site manager, open your new site.
- Test all pages, links, redirects and post a comment.
- Log into the WordPress admin page and create a new page and post to make sure they create properly. Import an image or two and make sure they display correctly.
Step #6: Go Live with Your Site
Once you’ve verified that all parts of your site are working as they should, you are now ready to go live with your site.
Multisite Migration Steps
- On the dashboard of the main WordPress site locate and install the Migrate to Liquid Web plugin and then network activate it.
- Create a new site in the manager. Once the new site install has been created, now select which type of multisite the existing site already is the two options are sub-directories or sub-domains. In this example, we are going to select sub-domains.
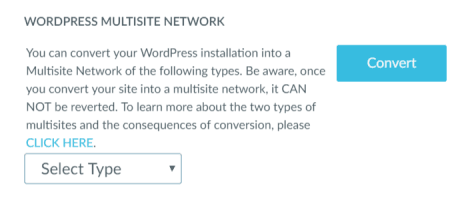
- The manager will show that the new install site is being converted to a multisite.

- Now you will need to generate sFTP/SSH creds in the manager of the site. On your network admin dashboard go to the LiquidWeb Migration admin menu, then enter the email you want to use to get notification of the migration, the destination URL, sFTP hostname, sFTP user and last the sFTP password.Now click the migrate button.
- Next, check your email for a “Your Liquid Web migration has started” email. You will also notice that a new tab will have opened in your browser. This link will show the status of the migration. Once the migration is complete then you will receive another email showing that the migration has completed, example email subject line “Migration https://sitedomain.com Completed“.
- Now, login to the migrated multisite and go to main site in wp-admin;Settings > Permalinks
- Then click on Save Changes.
That’s it! If you run into any issues, simply give us a call on our toll-free line at 1.800.580.4985 or open a chat or ticket with us today and we will be glad to assist further!
Related Articles:


About the Author: Luke Cavanagh
WooCommerce Specialist at Liquid Web. Devoted husband and Tween wrangler. Synthwave enthusiast. Jerry Goldsmith fan. Doctor Who fan and related gubbins.


Our Sales and Support teams are available 24 hours by phone or e-mail to assist.
Latest Articles
How to Clone a Drupal Site to Another Domain
Read ArticleTop Eight Virtualization Security Issues and Risks
Read ArticleAccessing Man Pages on Ubuntu 16.04 LTS
Read ArticlePremium Business Email Pricing FAQ
Read ArticleMicrosoft Exchange Server Security Update
Read Article